If you are using ClickFlare to track your Facebook campaigns, you can easily connect your accounts and have both your tracker and traffic source data in one place.
Step 1: On Account Wizard, select the Facebook ad accounts you want to connect to ClickFlare, then click on Next.
Step 2: In the second step of the Account Wizard, click on Add New to start connecting your ClickFlare account.
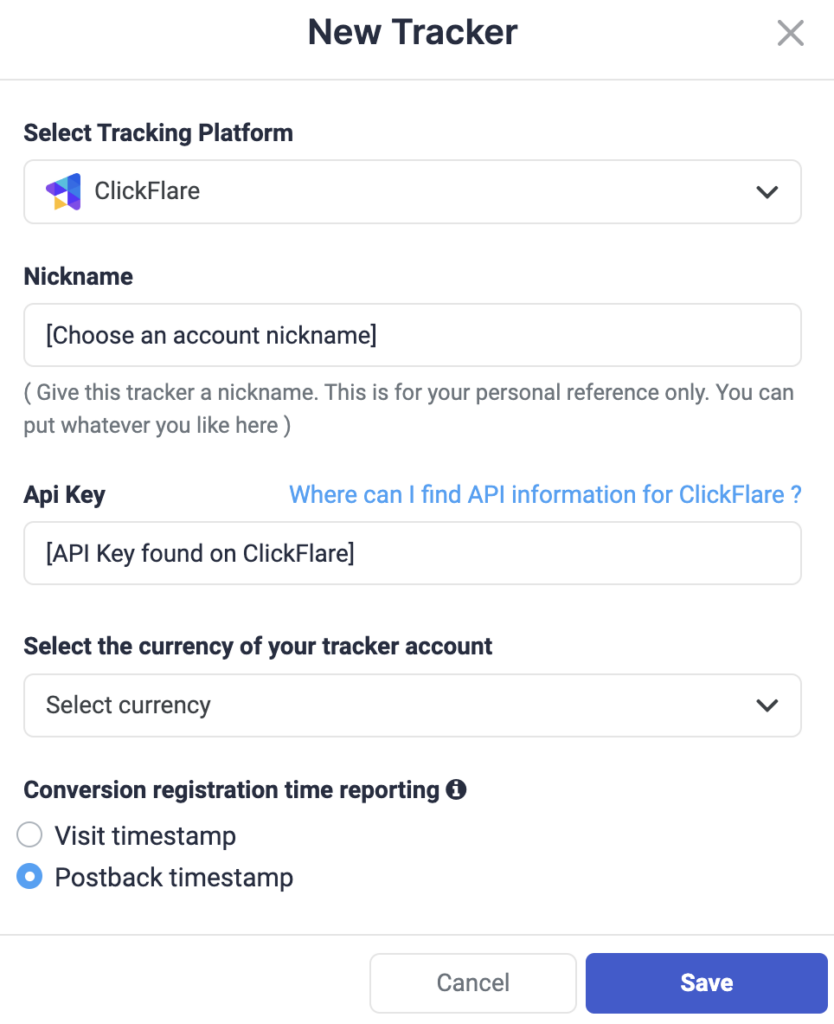
Step 3: On the pop-up integration screen, click on the Select Tracking Platform drop-down list and select ClickFlare. Here, you will need to fill in some information.
💡NOTE: You can find your ClickFlare API information by logging into your ClickFlare account and going to Settings > Security > API Access. Click Generate API Key > Enter the required information then click Save. Give the API Key a name, and then copy the generated details and paste them on TheOptimizer.

Step 4: Fill in all your ClickFlare account information, such as the account nickname, the API key you copied in the previous step, and the currency & the conversion registration time reporting, as specified on your ClickFlare settings.

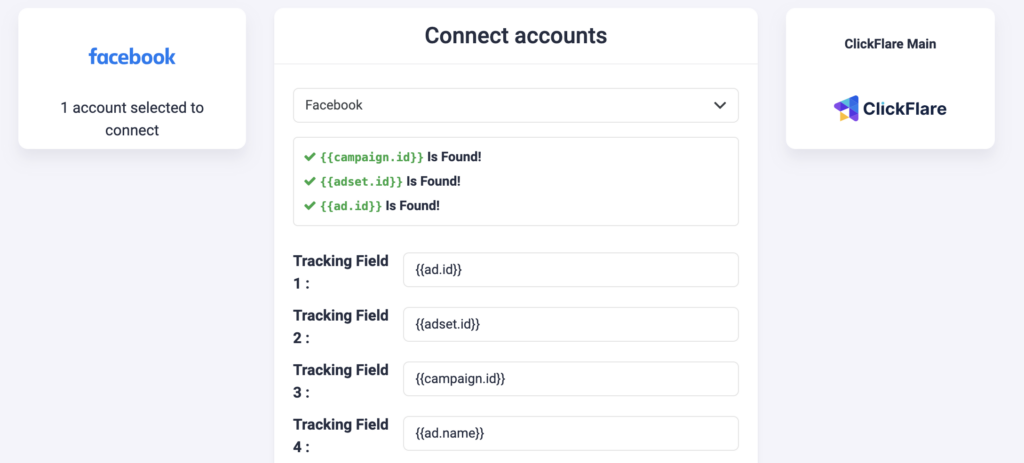
Step 5: In the final step, you simply need to specify which of the traffic source configurations found in your ClickFlare tracker belongs to the Facebook account added or selected earlier.

Next step: Start automating your Facebook campaigns
Click here to learn more about Facebook automation and get access to automation rule examples.
