![]() Written by Support. Updated over a week ago
Written by Support. Updated over a week ago
This step-by-step guide will walk you through the process of creating automatic rules in TheOptimizer Native.
To create a new rule, you have 2 options:
Option 1 – Create a rule from Templates
To create a rule from templates, simply go to rules in the left side panel of your screen, then click on Load From Templates.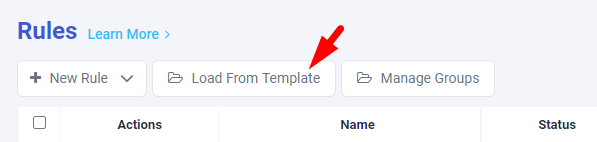
This will open a pop-up window with a list of various rules and various conditions you can customize to your needs.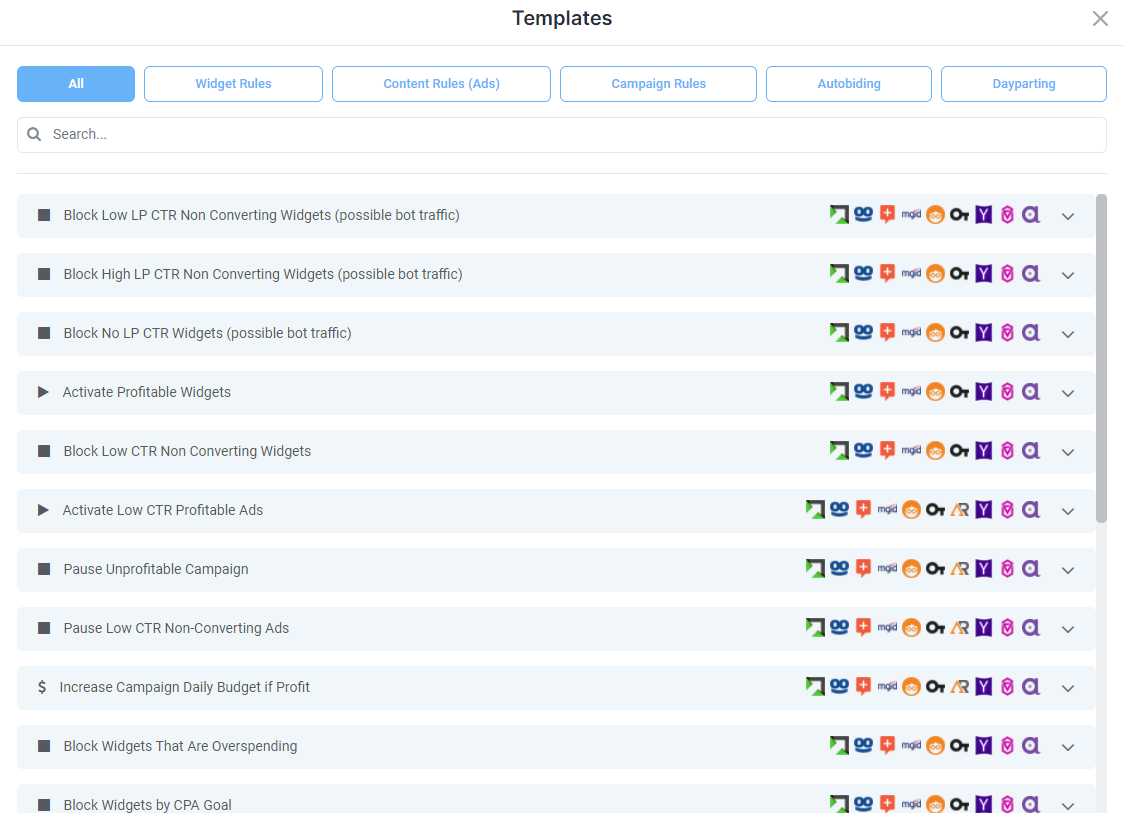
Option 2 – Create a rule from scratch
In the rules page, click on New Rule, then select the rule type you want to create.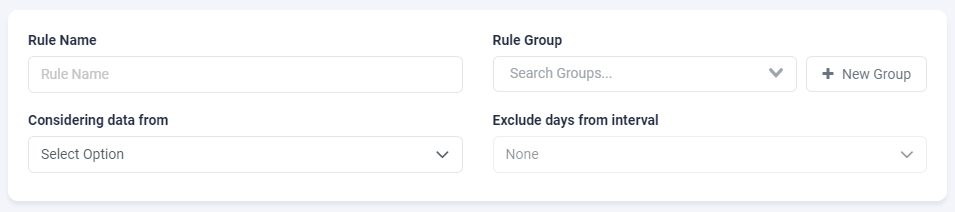


When creating a new rule from scratch, you will need to fill in the following information:
- Rule Name – A friendly name of your choice that will help you later quickly identify the rule for later re-use.
- Rule Group – Create a new or select an existing group from the list. This will help you to quickly add rules in groups to specific campaigns, instead of adding many of them individually.
- Considering data from – This specifies the look back days window based on which the rule conditions should be true to execute the desired action.
- Exclude days from interval – Here you can optionally exclude Today or Today & Yesterday from the Considering data from interval. This is useful for when you have conversions that do not get posted within the same day. This way you can exclude today’s stats from being taken into consideration.
Continuing to the rule conditions, you will find a detailed list of all the conditions that you can combine in a single rule to match your optimization needs.
The rule conditions are composed and grouped by three main sources of information:
- Tracker Fields – Will give you a list of all the conditions using tracker side information.
- Traffic Source Fields – Will give you a list of all the conditions using traffic source side information.
- Google Analytics Fields – Will give you a list of all the conditions using Google Analytics information.
Also, thanks to the way your campaigns’ statistics are aggregated and processed in TheOptimizer Native, you can mix and combine conditions from the traffic source, tracker and google analytics in one single rule.
Specifying the Rule Conditions
When specifying rule conditions, we can use one of the following logical operators on each condition:
- Greater than – Validates values greater than the one specified in the value field of the condition.
- Less than – Validates values lower than the one specified in the value field of the condition.
- Greater or Equal than – Validates values greater or equal to the one specified in the value field of the condition.
- Less or Equal than – Validates values less or equal to the one specified in the value field of the condition.
Dynamic Rule Conditions
When specifying rule conditions, we can also use dynamic values, in order to compare an actual metric value to a percentage of another value of the campaign level:
- Default metrics – All metrics from the traffic source, tracker or Google Analytics.
- Special metrics – Daily Budget, Payout, Live Spent (Outbrain only)
Additional Rule Condition Settings – New!
Besides having the ability to create rules using absolute values, you have the ability to specify dynamic rule conditions based on a specific percentage of your campaign’s level metrics.
A simple example would be a condition like:
IF Traffic Source Spend is greater than 200% of Campaign Payout
Widget Filtering Settings
In the widget filtering settings, you have the ability to quickly filter out specific widgets from being affected by the rule action. To do that you can apply the following filters:
- Include – when this filter is applied the rule action will affect only the widgets present in the widget filtering list.
- Exclude – when this filter is applied the rule action will have an effect on all the campaign widgets that fulfill the rule conditions, excluding those present in the widget filtering list.
Important Note! – Please note that multiple conditions within a rule are related to each other (this means that all conditions should be met for a rule action to be triggered). In case you would like to trigger rule actions on independent metrics (which one of the conditions is first met), please create a separate rule.
Final rule settings
Before saving your new rule, you will need to specify the following final settings.
- Apply rule to campaigns – here you specify the campaigns to which you want to assign this rule.
- Run this rule every – this specifies how often TheOptimizer will execute the rule to check if the rule conditions are met in order to execute the designated action.
- Alert settings – here you can choose if you want the rule to only send you an alert with the details of the widgets that meet the rule conditions; just execute the desired action, or execute the desired action and send you an email, slack, telegram alert with the details of the affected items.