This article will guide you through the step-by-step process of how to connect your Google Ad account(s) to TheOptimizer Native.
The article is organised in 3 main parts:
Part 1: What does this integration offer?
Part 2: Connect Google Ads
Part 3: Link a tracking platform to Google Ads (optional)
➡️ What does this integration offer
After you connect your Google Ads account to TheOptimizer, you will be able to perform all the following actions directly from TheOptimizer:
- Campaigns
- Accurate Campaign level metrics (spend, revenue, conversions, etc) from both Google Ads and any connected tracking platform
- Start/Stop campaigns
- Update campaign budget
- Ads
- Accurate Ad level metrics (spend, revenue, conversions, etc) from both Google Ads and any connected tracking platform
- Start/Stop Ad
- AdGroups
- Accurate AdGroup level metrics (spend, revenue, conversions, etc) from both Google Ads and any connected tracking platform
- Start/Stop AdGoup
- Clone AdGroup
- Update Default Max CPC
- Keywords
- Accurate Keyword level metrics (spend, revenue, conversions, etc) from both Google Ads and any connected tracking platform
- Start/Stop keywords
- Update keyword bids
- Search Terms
- Accurate Search Term level metrics (spend, revenue, conversions, etc) from both Google Ads and any connected tracking platform
- Convert search term to keyword
- Exclude search term
💡 NOTE: All the above actions can be performed manually or it can be automated using Rules. Rules can be setup to do a specific action with regular intervals, if certain performance conditions are met.
Rule example 1: Pause campaign if spend>$100 and Revenue=$0. Execute every hour.
Rule example 2: Clone AdSet if ROI>50%. Execute every day.
➡️ Connect Google Ads
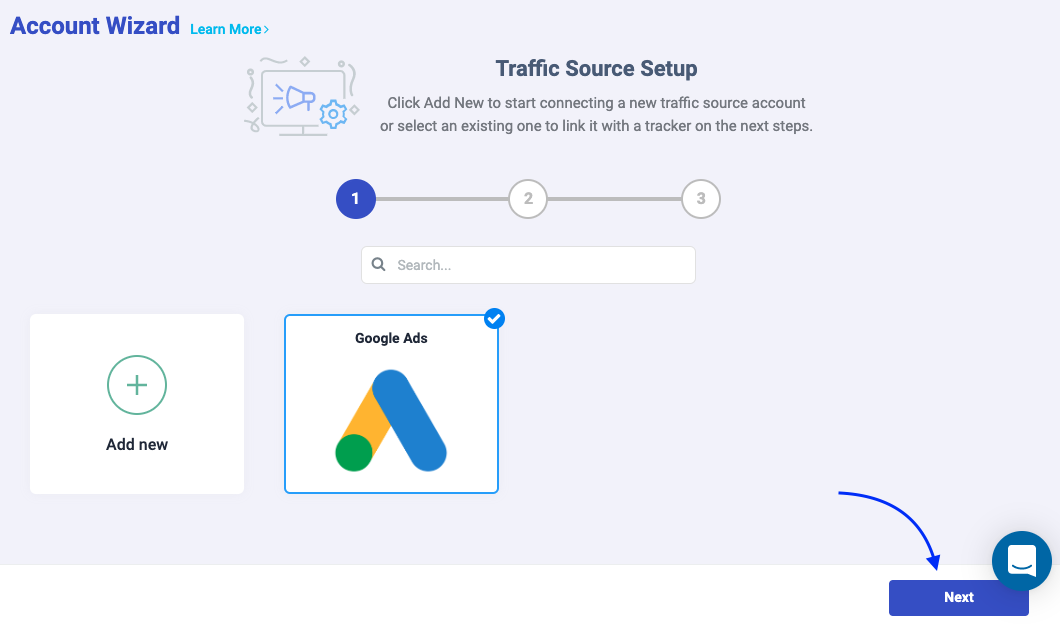
Once you have successfully logged in to your TheOptimizer Native account, click on the Account Wizard on the left-side panel of your screen then follow the 6 steps below.
Step 1: When on the Account Wizard page, click on Add New button.
Step 2: On the pop-up integration, click on the traffic source drop-down list and select Google Ads.
Step 3: Enter a friendly nickname for the ad account you are connecting in order to easily identify it later.
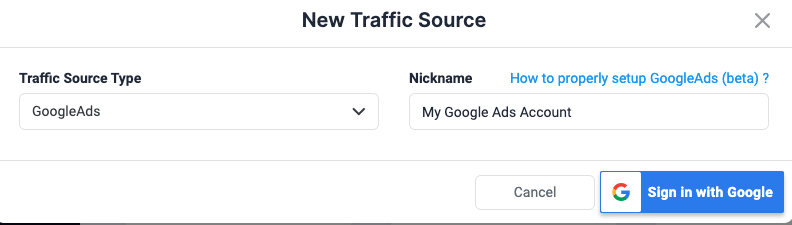
Step 4: Click Sign in with Google to launch the Google authorisation screen, where you will be asked to grant TheOptimizer access to your ad account.
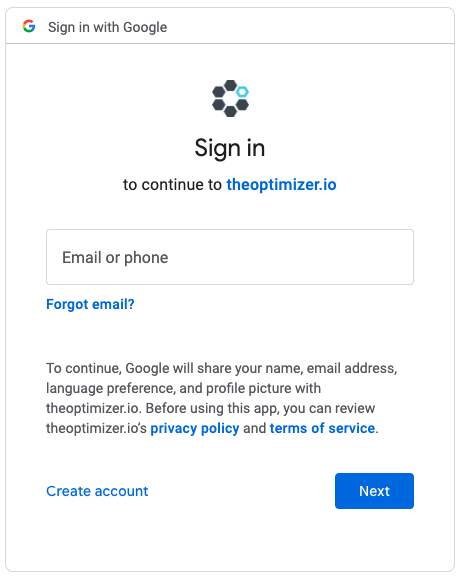
In order for the integration to work properly, make sure you grant access to the required permissions below.

After you click on Continue, you will be automatically redirected back to your TheOptimizer account. .
Step 5: When back on TheOptimizer’s account wizard page, select one or more ad accounts you want to connect.
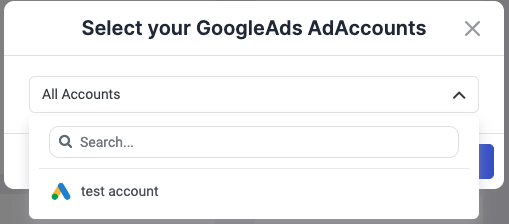
Step 6: Click Save to complete the integration process.
➡️ Link a tracking platform to Google Ads (Optional step)
💡 NOTE: This step is optional and only applies if you are also using a click tracking platform to track the performance of your Google Ads campaigns. If not you can skip this step by clicking “I do not use a tracking platform”
💡 NOTE: For the sake of this article we are using ClickFlare tracker (our recommended tracking platform), but the same steps apply to all tracking platforms that we support. Click here for more details on how to connect a different tracking platform.
After you have finished connecting your Google Ads accounts in the first step of the Account Wizard process, you can click Next to connect your tracking platform in order to have both traffic source and tracker data aggregated in one place.
Follow the steps below to connect your ClickFlare tracker account to TheOptimizer Native.
Step 1: When on the Account Wizard page, select a traffic source account and then click Next.
Step 2: In the second step of the Account Wizard, click on Add New to start connecting your ClickFlare account.
Step 3: On the pop-up integration screen, click on the Select Tracking Platform drop-down list and select ClickFlare.
Step 4: Fill in the required information as noted in the screenshot below then click Save and Next to move to the next step.
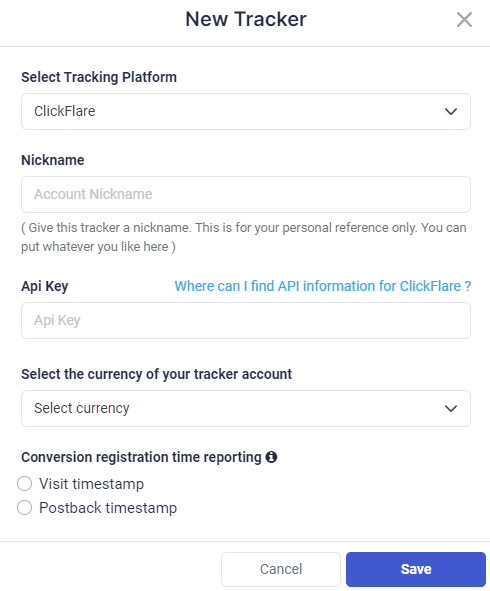
Required input information details:
– Nickname: Add a friendly, easy-to-recognize name for your ClickFlare tracker.
– Access Key: Access Key ID value as provided in ClickFlare (detailed below).
– Conversion registration time reporting: Specify the conversion registration timestamp setting according to your ClickFlare settings (ClickFlare General Settings).
– Currency: Select the currency defined in ClickFlare settings..
Step 5: In the third and final step, you simply need to specify which of the traffic source configurations found in your ClickFlare tracker you are using to track traffic for the Google Ads account added in the previous step of the Account Wizard.
Google Ads macros:
{campaignid}
{adgroupid}
{creative}
{keyword}
{matchtype}

As you may notice from the above screenshot, all necessary Google Ads macros are marked in green. This means that all those macros are present in your ClickFlare config for Google Ads
✋ IMPORTANT: In case one of the required traffic source tracking tokens is missing in your tracker configuration, then the necessary steps to fix this are:
(for example if {campaignid} macro is missing, you will get it in red)
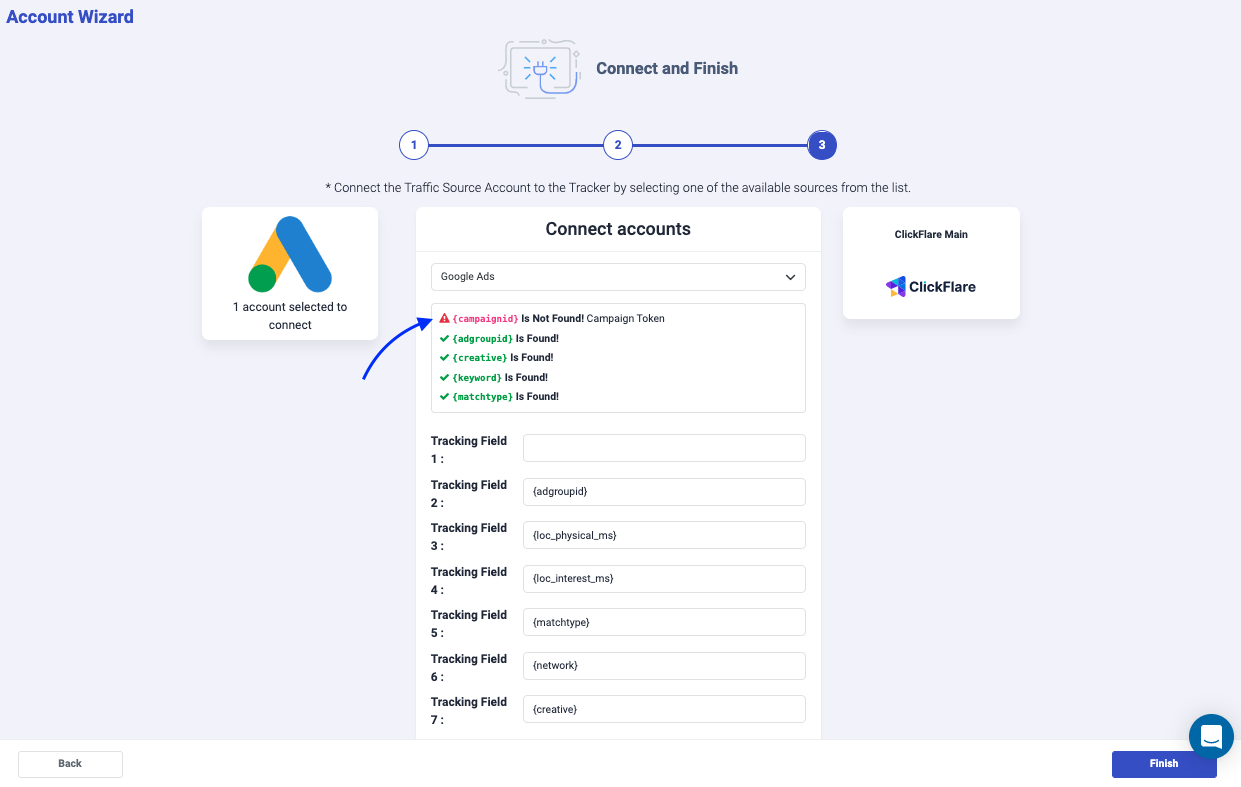
- Log in to your tracker, edit the traffic source and add the missing macros
- Come back to TheOptimizer, refresh the page where you left and continue the integration process. Now you should see all tokens in Green.