
Where to Find Your API Credentials
Log in to the MediaGo platform → go to Account settings → API → copy your API Key.Connecting to TheOptimizer
Open the Integrations page
From the left-hand menu, go to Integrations. Find the MediaGo card and click Connect →.
Enter Your API Credentials
Enter the credentials requested: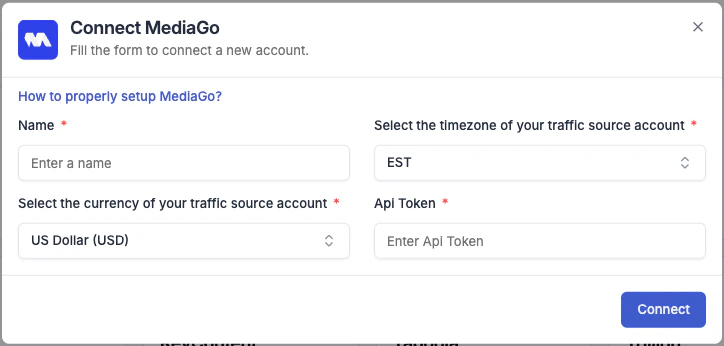
- Integration name — a descriptive label for this connection (e.g. “MediaGo – Main Account”).
- API Key — paste the API Key from your MediaGo account settings.
Next Steps
- Connect a tracking platform to bring conversion and revenue data into your campaign reports