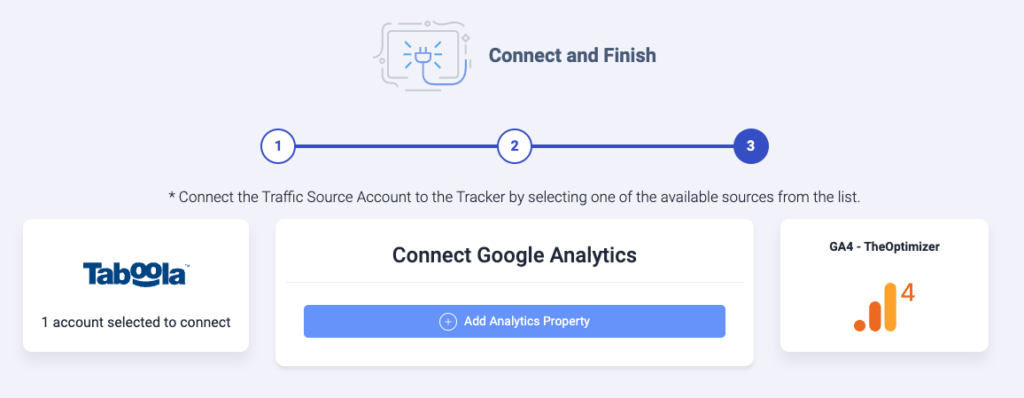
Once you have already connected one of the supported traffic source accounts in the first step of the Account Wizard process, now you can proceed on connecting your tracking platform in order to get accurate reporting on your campaigns’ performance including tracker statistics.
Please follow the guide below on how to connect your Google Analytics 4 account to TheOptimizer Native.
For illustration purposes, in this article we have connected Taboola to Google Analytics 4. The process is very similar for all traffic sources.
Step 1: Click on Account Wizard on the left-side menu of your screen.
Step 2: Select one of the previously connected traffic source accounts and click Next.
Step 3: Click the Add New button in the Tracker Setup step of the account wizard and then enter the required information.
Step 4: Select Google Analytics 4, enter a nickname for your GA4 connection

Once you click Save, you will be redirected to your Google account login page where you will have to grant access to TheOptimizer.

Enter your Google account credentials following the on-screen instructions, then click Allow to allow TheOptimizer.io to view your Google Analytics 4 data.

Once the authorization process is finished, you will be redirected back to the Account Wizard page with the newly added Google Analytics 4 account pre-selected.
Click Next to move to the next step.
In the final step of the Account wizard, you need to:
- Select the GA4 Account (if you have more than 1)
- Select GA4 Property: select which GA property under the selected account you want to connect
- Select Metrics: select which GA4 metrics you want TheOptimizer to import from Google Analytics
Note: Some metrics are preselected and can not be removed. You can add other metrics by clicking the “Add More Metrics” link.
Note: You can select max 60 different metrics, which are shared between all your linked GA4 accounts. For example if you select all 60 metrics during the first GA4 account setup, every other GA4 account that you are going to connect in the future will share the same metrics. Increasing the number of metrics is not possible - UTM token Mapping: for each traffic source macro (in this case Taboola), select which utm token you are using to pass that info back to Google Analytics 4. In the example below we are saying that Taboola’s {campaign_id} is being passed under utm_campaign, {site} is being passed under utm_source and {campaign_item_id} is being passed under utm_medium.
Note: This setup might be different for each user, so make sure to do the correct mapping based on your setup


Click Add, to complete the setup and move to the final step.
Custom Tracking – When to use it?
If for some reason you do not have all the Google Analytics 4 utm parameters available (because you are already using some of them for other purposes), but you have only one or a couple of them available, you can enable and use our custom tracking option.
Using the Custom Tracking option, you are able to pass more than one traffic source macro on a single GA4 utm param, using our special format.
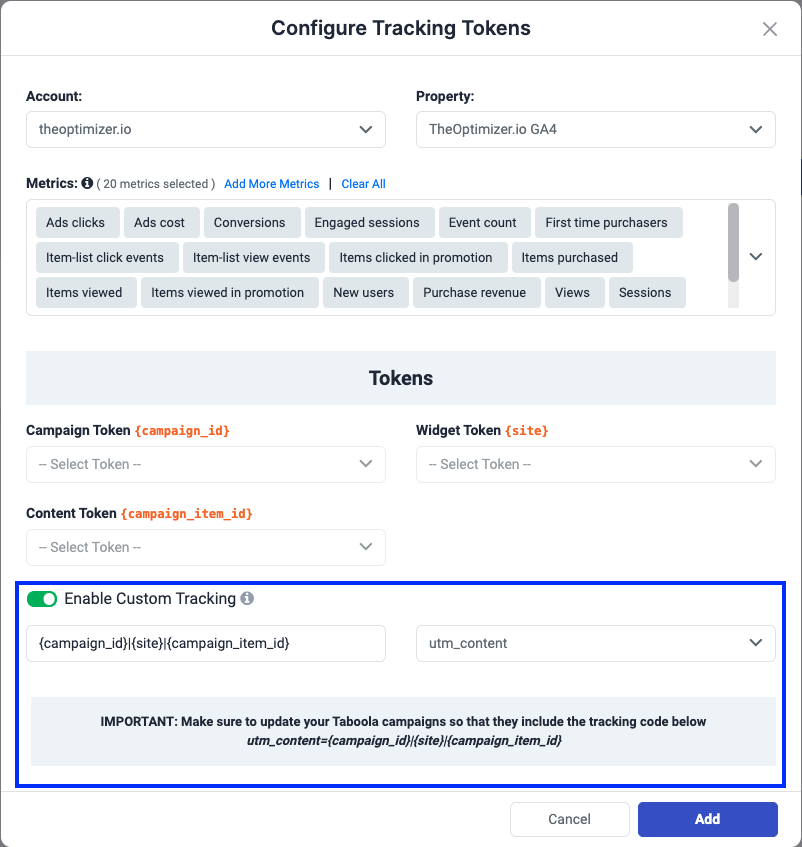
For example, in case of Taboola, you can pass all Taboola macros on utm_content, like shown in the screenshot below:

The tracking code that you need to add in your campaigns needs to be exactly in the same format and order as it is on custom tracking configuration. In this case, because we have decided to pass everything under sub1, the tracking code that you need to add to your Taboola campaigns will be:
utm_content={campaign_id}|{site}|{campaign_item_id}
Here are some examples of top used traffic source custom tracking concatenated templates:
Concatenated Taboola Tracking String: {campaign_id}|{site}|{campaign_item_id}
Concatenated RevContent Tracking String: {boost_id}|{content_id}|{adv_targets}|{widget_id}
Concatenated Outbrain* Tracking String: {{campaign_id}}|{{publisher_id}}|{{section_id}}|{{ad_id}}
